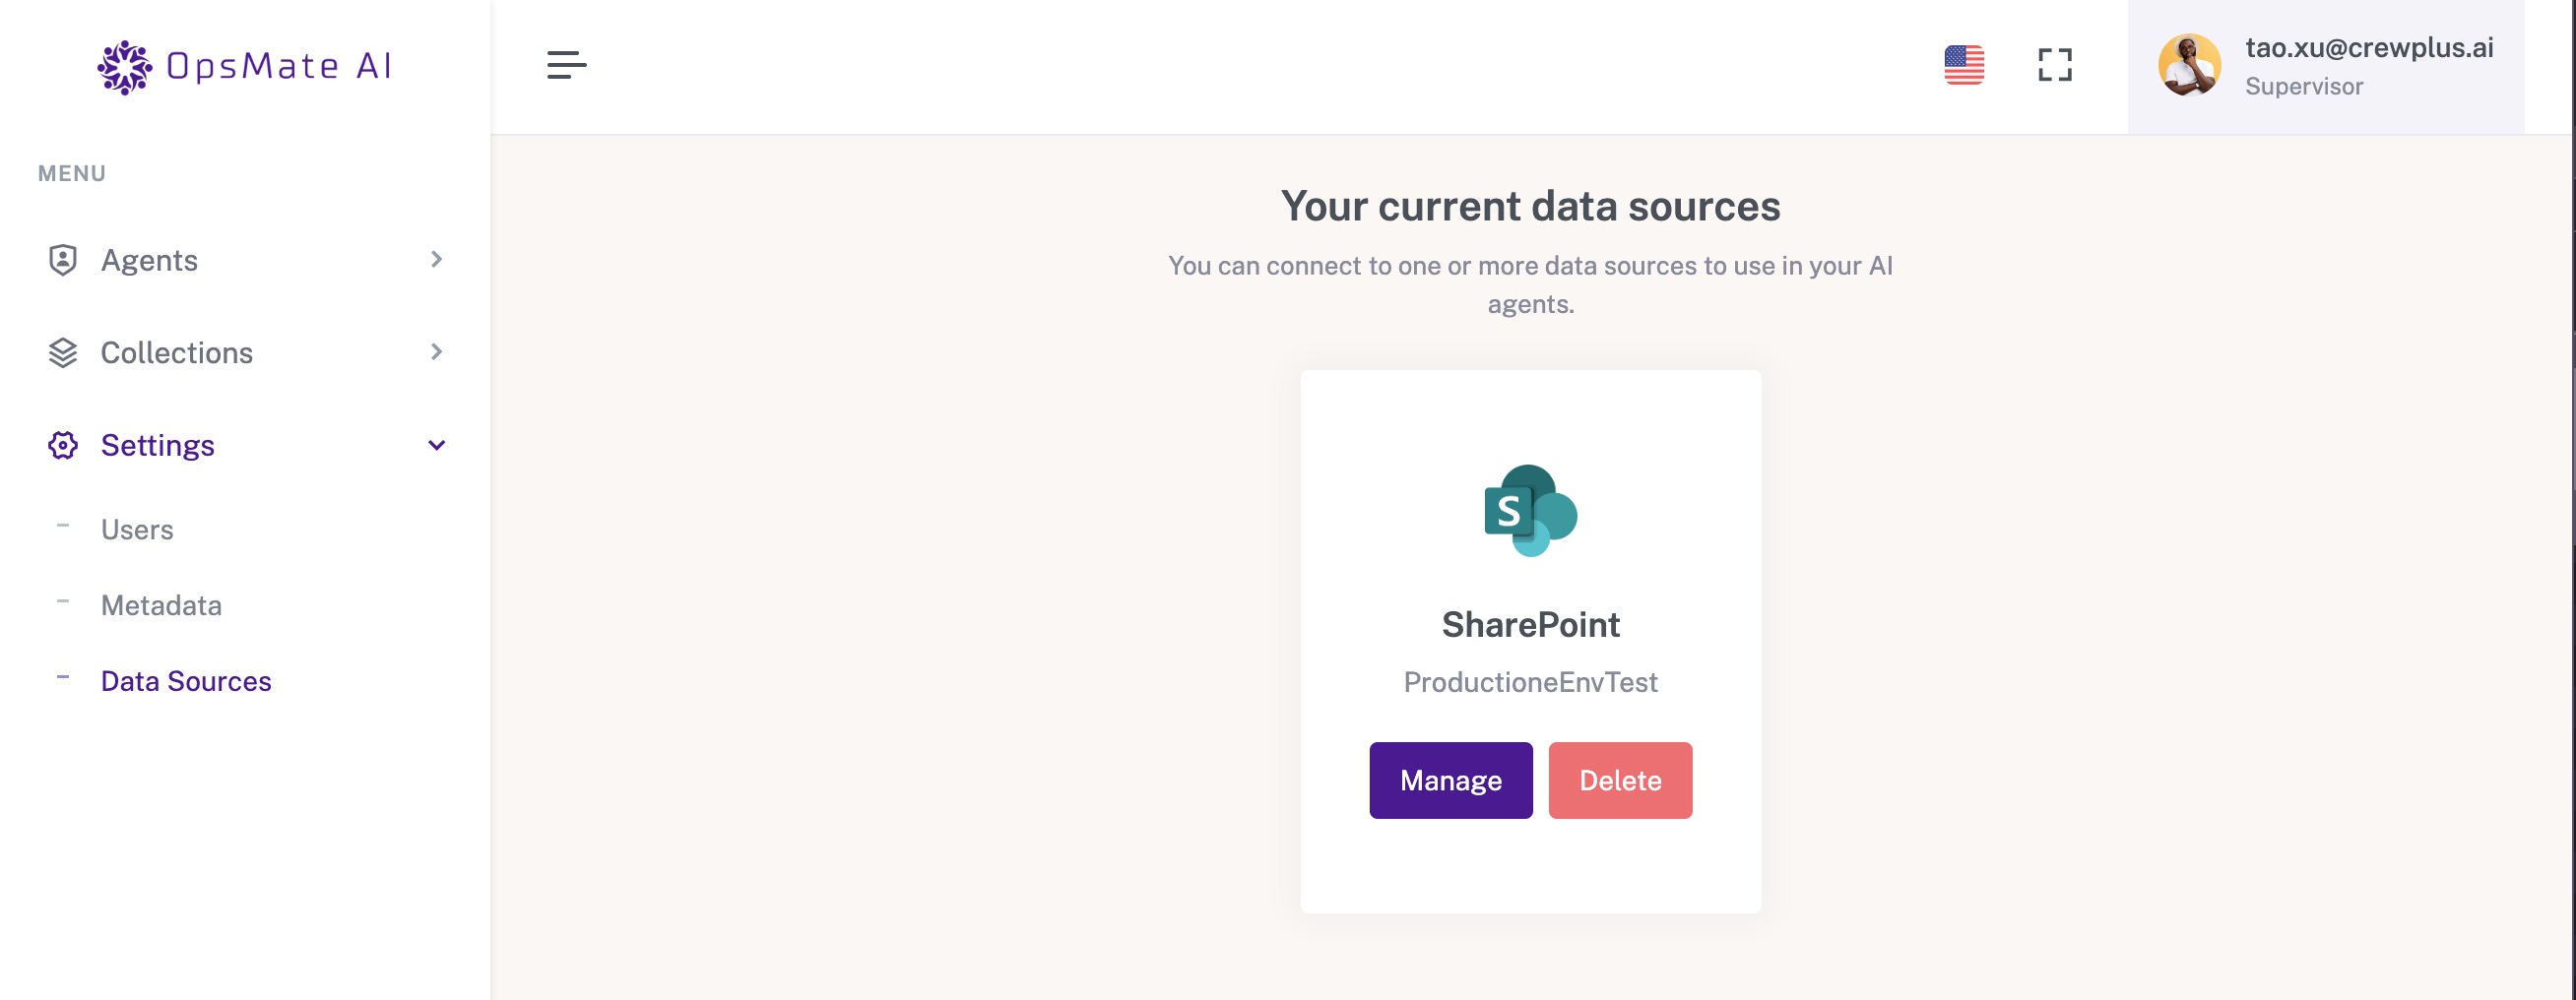
When ingesting knowledge, the client will designate a specific Site in their SharePoint to be ingested into our system, which requires corresponding configurations in Azure and SharePoint. This article describes how to perform such settings. The entire setup process is divided into two parts: Azure App registration and Site authorization.
Azure App Registration
Log in to https://portal.azure.com with administrator privileges.
Search for "Microsoft Entra ID," then click to enter. Next, click the Manage -> App registrations option in the menu on the left to access the App registration page, and then click the New registration button at the top to create a new App.
-
Enter the name of this App in the Name field.
-
In the Supported account types section, select the first option.Accounts in this organizational directory only.
-
Do not do anything at the Redirect URI.
-
Click the Register button at the bottom to create this App.
Then go to the details page of this App, click "Overview" in the menu on the left, and see the following information:
Among them, Application (client) ID is the Client Id, Directory (tenant) ID is the tenant Id, then click on the 0 secret behind Client credentials to create a Client Secret. After entering, go to the Client secrets tab and click "New client secret" to create a new secret, as shown in the figure below.
Value is the Client secret, which will only be displayed once and needs to be copied and stored immediately. The Secret ID will also be used later in Site authorization, so it also needs to be recorded.
After completing this step, you also need to authorize the API. Please click on the menu on the left Manage->API permissions to enter the API authorization page, then click the "Add a permission" button to add an API. Please note that all added APIs are of the Application permissions type. When selecting the API type, the following options will appear. Please choose the one on the right:
The permissions that need to be added is “Sites.Selected”, for both Microsoft Graph and SharePoint, like below.
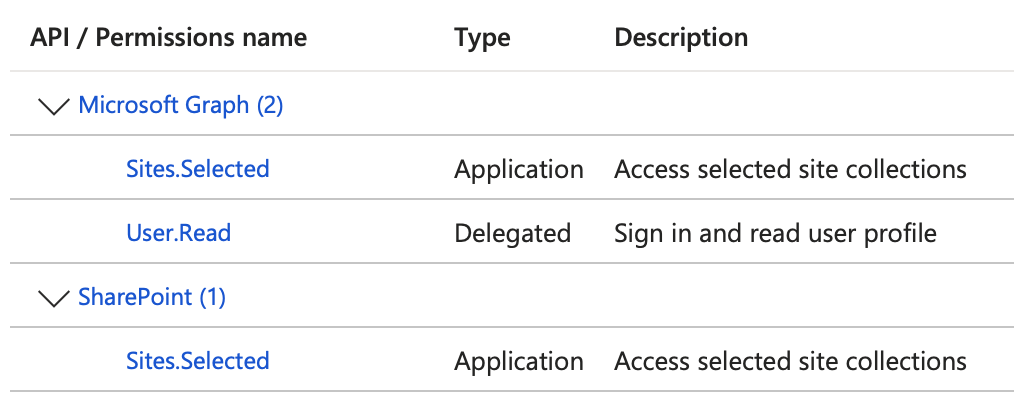
After adding permissions, "Not granted for <Your SharePoint Name>" will appear in the Status column, as shown in the image below.
This requires someone with administrator privileges to approve, so that these statuses can become "Granted for <Your SharePoint Name>", as shown in the image below:
After completing the above steps, the app registration is finished.
SharePoint Site Authorization
Now please go to SharePoint to configure the corresponding permissions. First, use your account to log in to SharePoint in the browser.
Go to this page of the site you want to authorize: <https://<your> SharePoint name>.sharepoint.com/sites/<Your Site>/_layouts/15/appinv.aspx, as shown in the figure below:
Please enter the Client Id you created in the previous step in the App Id field, then click the Lookup button. After that, enter the following XML in the Permission Request XML field:
<AppPermissionRequests AllowAppOnlyPolicy="true">
  <AppPermissionRequest Scope="http://sharepoint/content/sitecollection" Right="Read" />
</AppPermissionRequests>
Then click the Create button, and after that, click the Trust it button to complete the authorization.
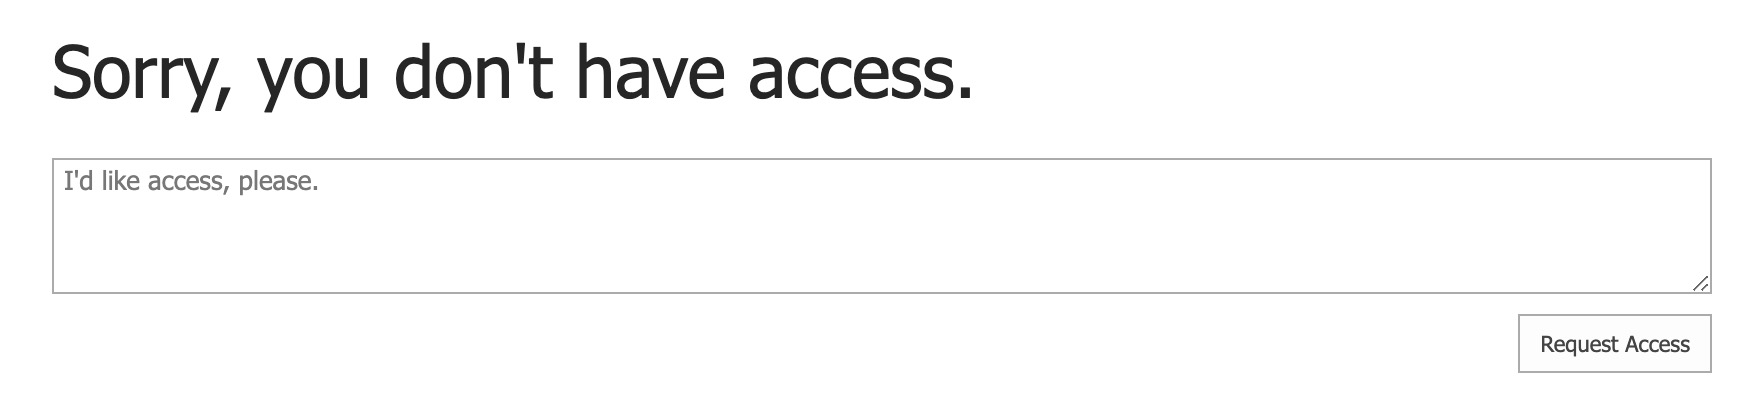
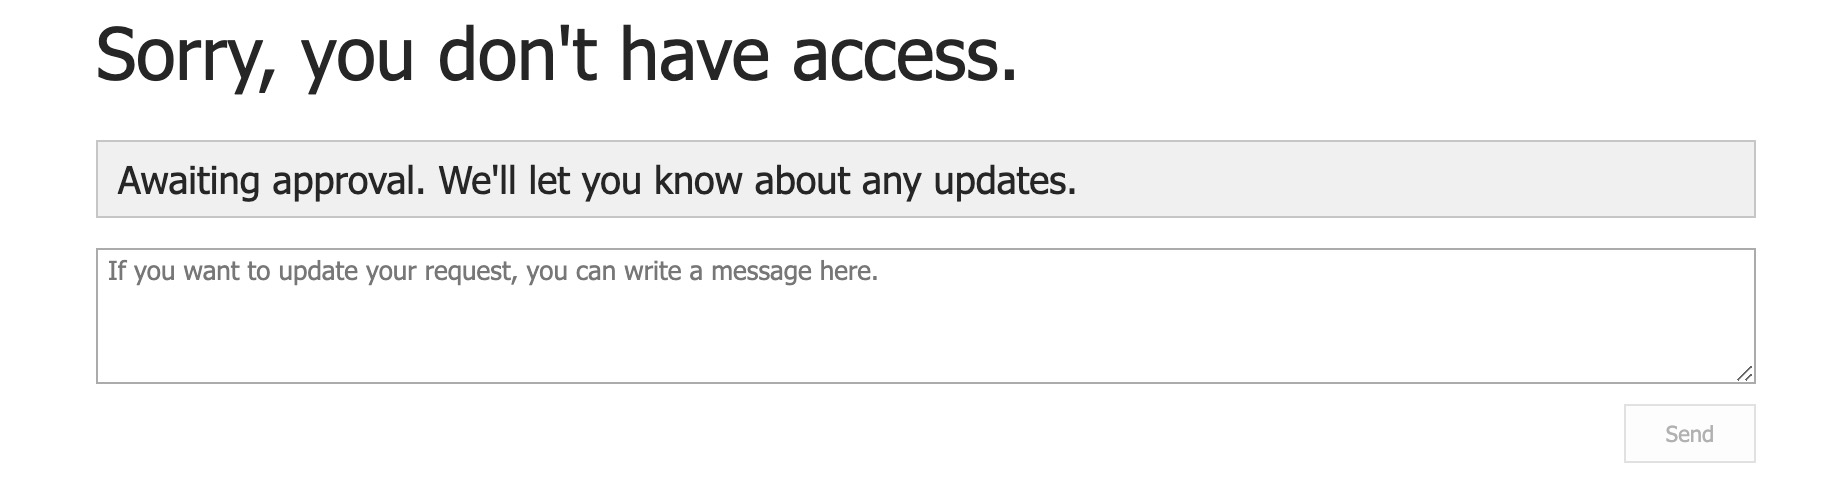
Please pay attention: If you encounter “Sorry, you don't have access.” after clicking the Trust it button, please click the Request Access button, and then an email will be sent to the Site’s Owner to approve the permissions you need. After receiving approval, please repeat the above steps to obtain the corresponding authorization.
Configuring SharePoint connection in OpsMate AI
Log in to the OpsMate AI App, then click on the menu on the left: Settings → Data Sources. Then click the Connect button below the SharePoint square on the right, and the system will pop up a window as shown in the image below:
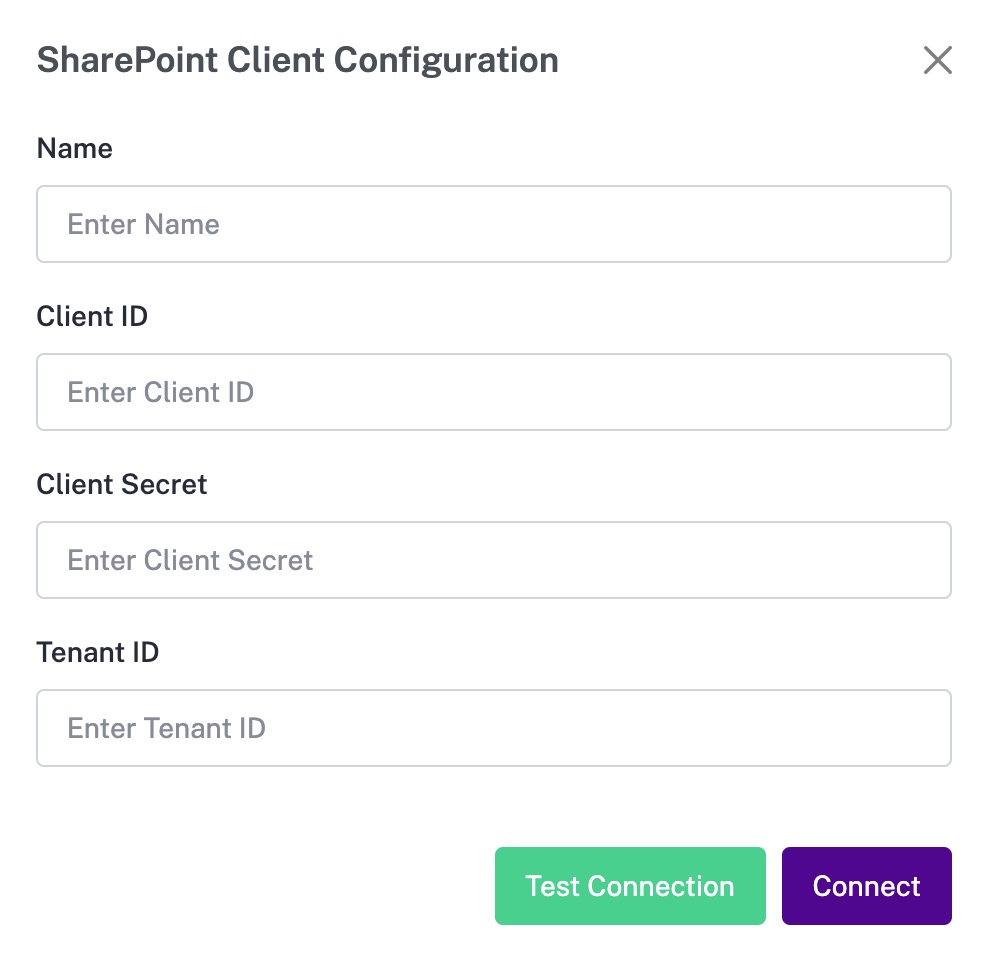
Enter the connection name you want in the Name field, and input the corresponding Client ID, Client Secret, and Tenant ID of the app registered in Azure in the first step. Finally, click the Connect button in the bottom right corner to complete the connection and proceed to the details page.
Click the Add Site button in the upper right corner of this page, and the following popup will appear:
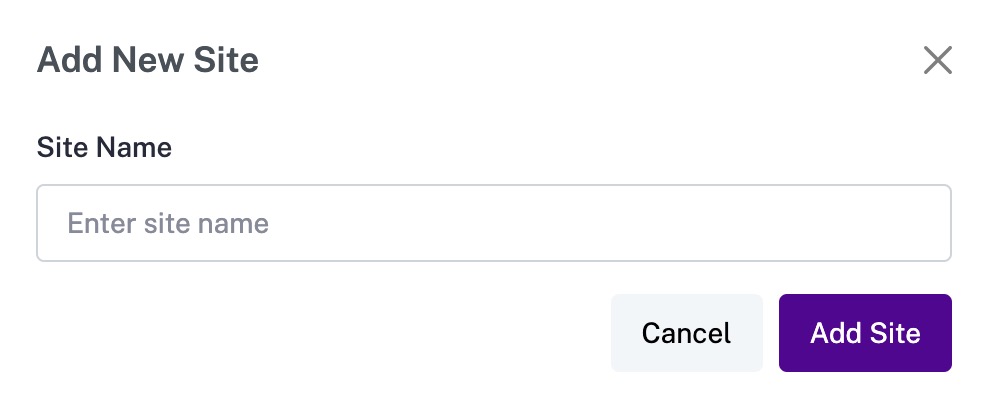
Please enter the full URL of your SharePoint site in the Site Name field, then click the Add Site button in the bottom right corner to complete the entire process of connecting and authorizing the SharePoint site.
After completing the above operations, the system will automatically initiate the first full knowledge ingestion. You can click the Ingestion Status tab to check the status of the ingestion, as shown in the figure below:
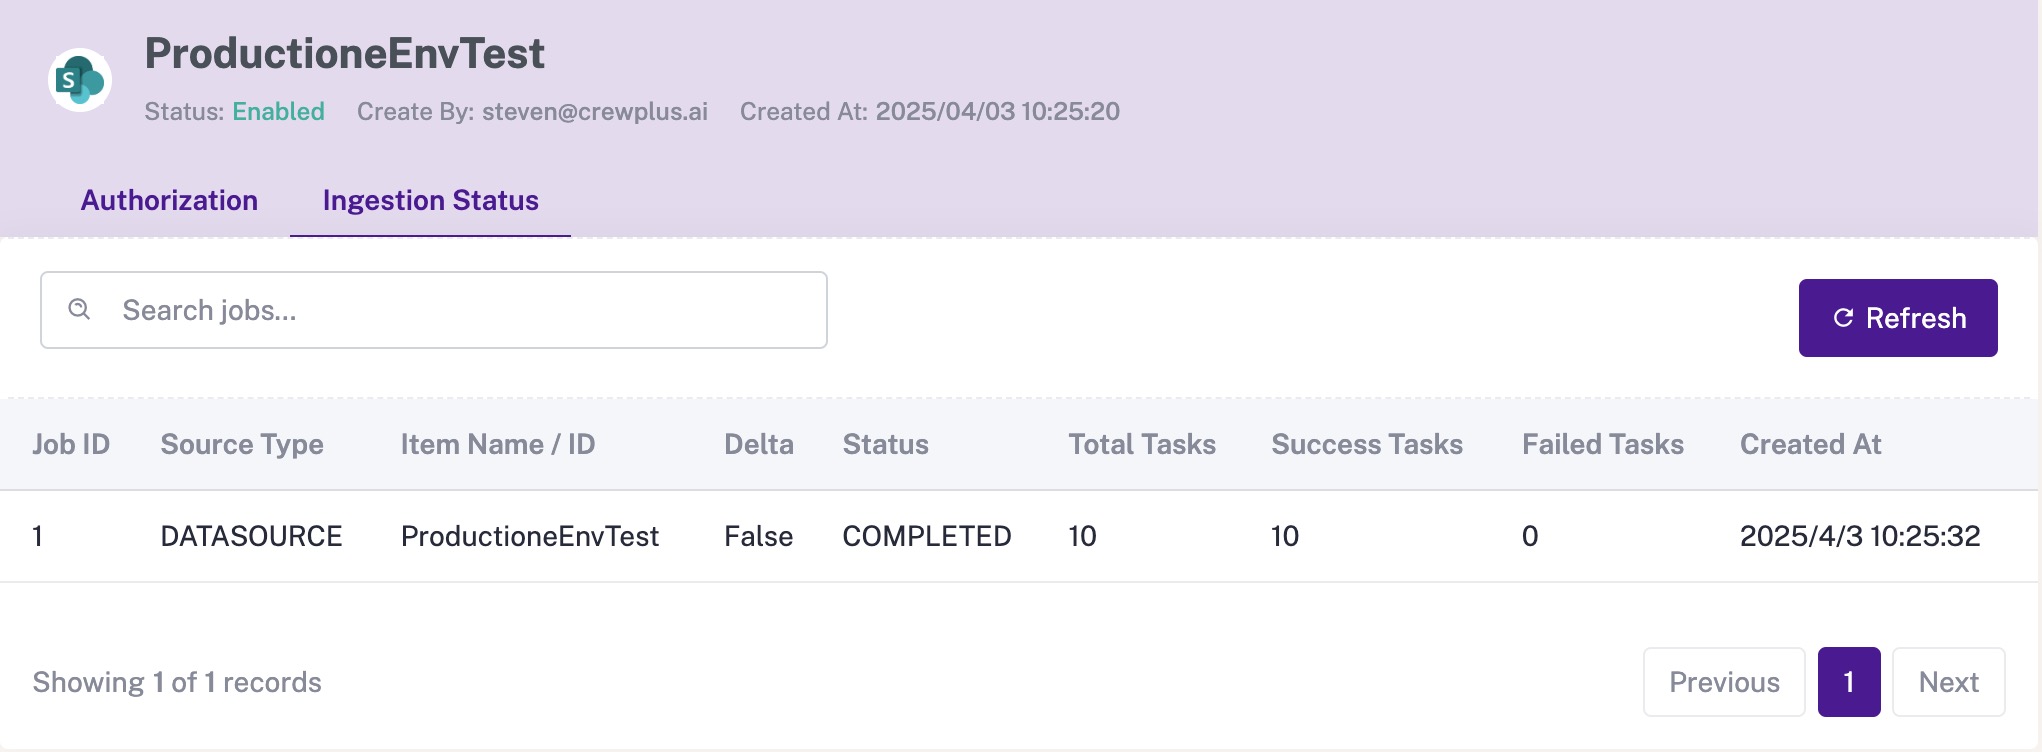
Apart from the first full update, the system will automatically fetch the incremental content of the Site every day at midnight and perform an incremental update. The status of the daily automatic incremental update task will also be displayed in the Ingestion Status tab above.
Other operations
On the Authorization tab page of the SharePoint connection, for each Site, there are also two action buttons, specifically in the red box in the image below:
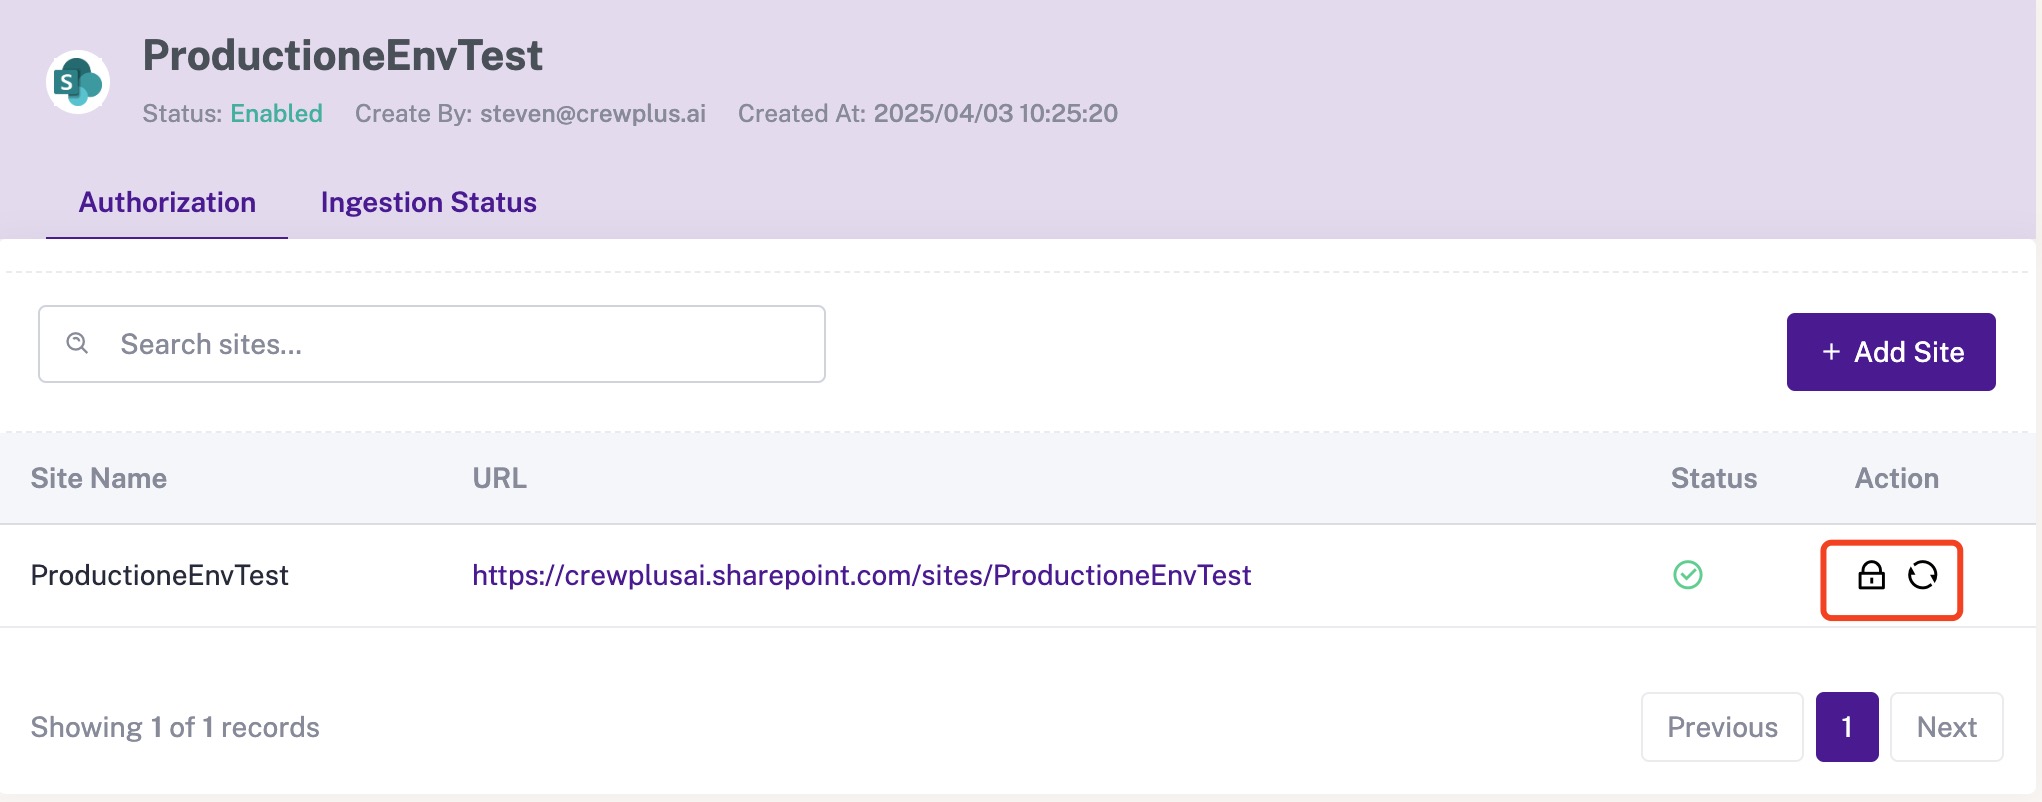
The first button is the deauthorization button. Clicking it will deauthorize this Site, after which the Site will be removed from the list, and the corresponding ingested knowledge will be deleted from the system.
The second button is the incremental update button. Clicking it will immediately trigger the knowledge ingestion of incremental content for this Site. If you have made additions, deletions, or modifications to files within the SharePoint Site and do not want to wait for the automatic incremental update task at midnight the next day, you can click this button to immediately trigger the knowledge ingestion of incremental content.
Delete Data Source
Please return to the list page of the data source. Each connected SharePoint has a Delete button. After clicking it, a confirmation popup will appear. Once the user confirms the deletion, the SharePoint will be deleted.